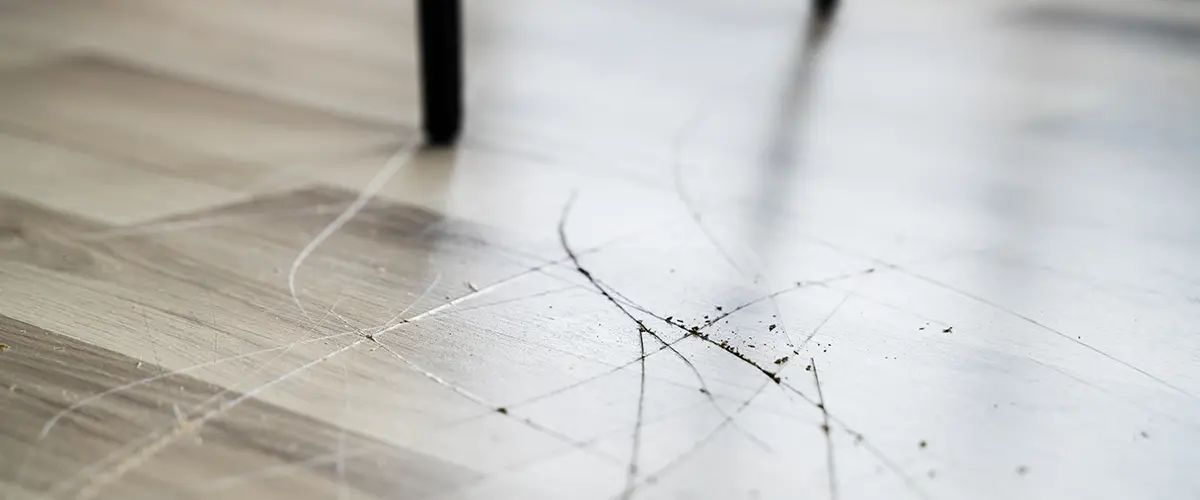
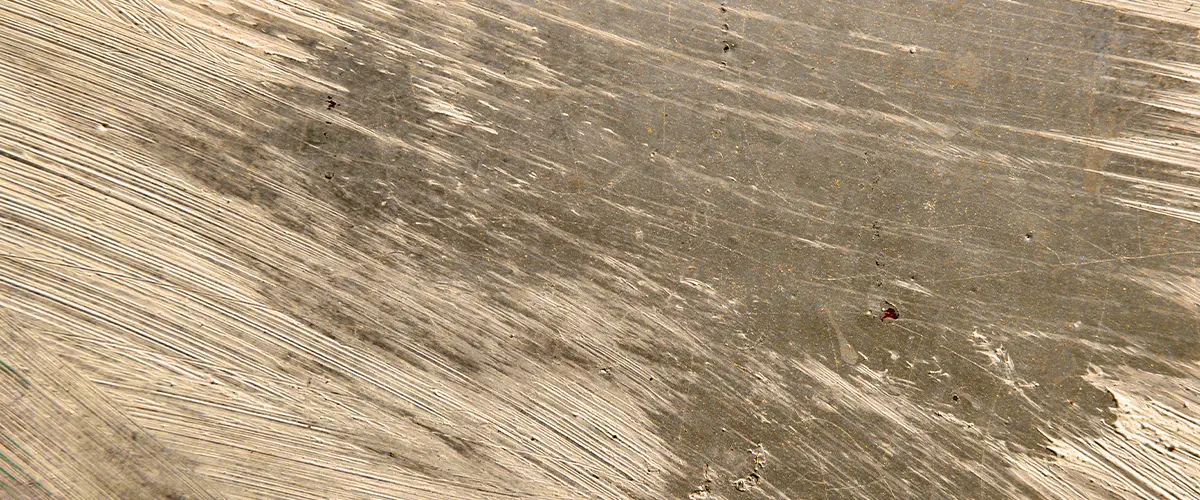
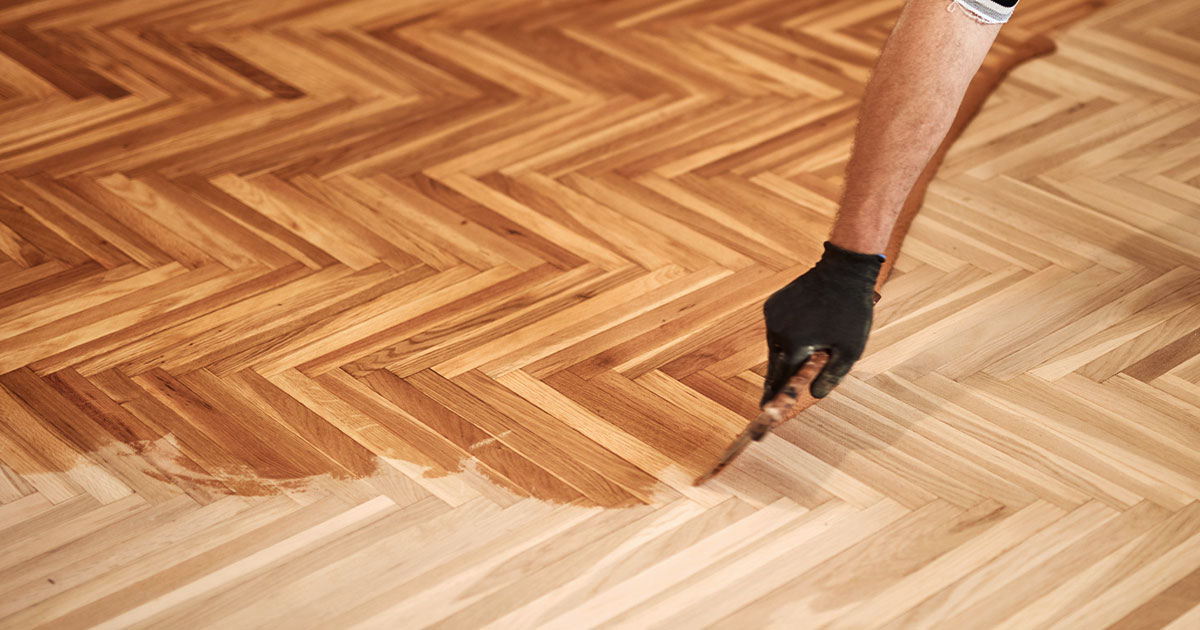
Hardwood floors are beautiful, but it’s all too easy to see scratches and scuffs appear over time.
Luckily, repairing these blemishes isn’t as difficult as you might think. In this article, we will guide you through the various DIY solutions for tackling small to large scratches on your wooden floors.
Read on to restore your hardwood flooring’s natural charm in no time!

Key Takeaways
- You can tackle small scratches with simple DIY methods like sanding or using a walnut.
- Medium-sized scratches may need a homemade refresher or application of wood stain to fix the damage.
- For large and deep scratches, you should consider stripping off the finish or filling it up using resin wood filler.
- Regular cleaning helps prevent further scuffs and extends your floor's durability.
DIY Solutions for Removing Wood Floor Scratches
Wood scratches on your hardwood flooring can become eyesores, but fear not! For smaller scratches, consider a simple sanding or walnut treatment. Medium-sized scratches may require a DIY refresher or application of wood stain for an effective fix.
Larger and deeper gouges? Not to worry – stripping the finish or filling with resin wood filler should do the trick. With these DIY solutions at hand, you can easily restore the natural beauty of your floors without breaking the bank.
Smaller Scratches: Sanding Or Walnut Treatment
You tackle smaller scratches on your wood floor by sanding or using a walnut treatment.
- Sand the affected area lightly with fine-grained sandpaper until it blends with the surrounding floor.
- Wipe the area clean with a soft, damp cloth to remove any dust from sanding.
- Rub the meat of a raw walnut directly onto small scratches.
- Wait for a few minutes to let the natural oils seep into the wood and help cover scratches.
- Wipe off any excess residue left by the walnut using a soft cloth.
- Apply matching stain if necessary and allow it to dry according to product instructions.
- Once the stain dries, apply a thin layer of protective coating such as polyurethane for a shiny finish.
Medium Scratches: DIY Refresher Or Wood Stain
- Sand the affected area lStart with thoroughly cleaning the scratched area. You can either employ a gentle cleaning agent or create a homemade mixture using apple cider vinegar and water.ightly with fine-grained sandpaper until it blends with the surrounding floor.
- Identify the severity of the scratch to ascertain if it needs a DIY refresher or wood stain treatment, as deeper scratches will require staining.
- Administering a DIY refresher may involve using products that are mixtures of waxes and oils, such as olive oil or coconut oil. The primary objective is to refill the scratch and restore the floor’s finish.
- Applying these refreshers often involves covering the damaged area with a thin layer of the solution and then buffing it out using a soft cloth until it blends with the surrounding floor.
- When faced with deeper gouges, you might need to delve into using wood stains.
- Your first task is to match your stain marker or stain pen color to the same shade as your hardwood. It sometimes helps to go a few shades lighter because you can always darken it later if necessary.
- Use your chosen wood stain and fill in the scratch carefully, ensuring not to overspill onto areas without damage.
- Wipe away any surplus staining immediately with a clean cloth before it dries.
- Leave your patchwork to dry undisturbed for at least 24 hours for optimal results. The drying time could be longer depending on humidity levels inside your home.
Larger Scratches: Stripping The Finish Or Patching With Wood Filler
Tackling larger scratches on your hardwood floors requires more intensive solutions like stripping the finish or patching with wood filler.
- Identify areas with significant damage.
- Clear the area of any furniture or decorations to make room for repair work.
- Thoroughly clean the floor around the scratched area using a biodegradable cleaning agent and a soft mop.
- Apply a stripper solution designed for hardwood flooring to remove the protective coating.
- Let the stripper rest according to the product instructions before gently removing it with a plastic putty knife.
- Rinse thoroughly and let dry, giving you a clear look at deep scratches.
- Choose a resin wood filler that matches your wood grain as closely as possible.
- Apply filler into deeper gouges with a plastic putty knife, ensuring to press down well so the filler adheres to the scratch interior.
- Make sure to create a slightly raised bump of filler over the scratch, this excess can get sanded down later for a level finish.
- Allow ample time for the wood filler to set completely; drying times can vary depending on the product and the extent of damage.
- After fully drying, use fine-grit sandpaper to smooth out patched areas until they blend seamlessly with the surrounding floor.

Tips for Wood Floor Scratch Repair
Begin by thoroughly cleaning the damaged spot on your wood floor. If you notice a minor mark, try using a blending pencil to darken and conceal it subtly. For light scratches, consider applying a finish restorer; this can effectively mask any unsightly marks.
Should you discover medium-sized scratches, applying a new coat of finish could be an effective solution. In cases where many scratches are present, or they’re rather deep, sanding and refinishing might be your best call of action.
Make sure to use wood filler for wider gouges; this substance fills the grooves and blends seamlessly with your hardwood floor’s grain pattern while covering up imperfections effectively.
Lastly, if some areas are extremely damaged beyond repair attempts, patching them up or replacing entire floorboards may prove necessary for restoring the natural beauty of your floors.
Clean The Trouble Spot Thoroughly
Begin your hardwood floor scratch repair by ensuring the area is perfectly clean. Use a soft mop or cloth and a gentle, biodegradable cleaning agent to eliminate dust and dirt from the trouble spot.
Avoid harsh chemicals that might damage the wood finish further. Once cleaned, allow the surface to dry completely before proceeding with the next steps of scratch repair on your wood floor.
Darken The Scratch With A Blending Pencil
Blending pencils are amazing tools in the fight against noticeable scratches on your hardwood floor. These handy items work like magic to match and darken the scratch, blending it with the surrounding wood grain.
To use one, you simply glide it along the length of each scratch, deeply filling it with color that matches your floor.
To attain a finer finish after applying the blending pencil, try using a soft cloth or clean fingers to rub over each treated area. This process helps spread out any excess pigment from the pencil and more evenly distributes color into every nook and cranny of your scratched areas.
With this method, you will achieve an almost invisible repair job once completed properly!
Use A Finish Restorer For Light Scratches
Start with a clean surface before applying the finish restorer. Make sure to shake the bottle thoroughly prior to use for even distribution of its contents. Apply it gently on the light scratches using a soft cloth, following along the grain lines of your hardwood floor.
Give it time as you watch those annoying scratches disappear and reveal renewed shine on your floors.
Treat Medium Scratches With A New Coat Of Finish
Reviving your hardwood floor by treating medium scratches is simpler than you might think. The trick resides in a new coat of finish, a resourceful way to restore your floor’s original shine and smoothness.
Here’s how you proceed:
- First, clean the scratched area with a suitable biodegradable cleaning agent, ensuring all grit and dust are removed.
- Use fine-grit sandpaper to even out the scratch, and wipe away any residue with a soft cloth afterward.
- Now, re-coat this spot using an appropriate wood finish matching the existing floor color; let it dry according to the manufacturer’s instructions.
This effective solution lets you keep those flowy socks on without tripping over unwanted ridges on your beloved hardwood flooring!
Sand And Refinish For Lots Of Scratches
When your hardwood floor has suffered widespread scratching, a complete sand and refinish may be in order. The process kicks off by using a coarse-grit abrasive on a drum or orbital sander to remove the old finish and level out any scratches.
Next, switch to medium-grit paper for smoothing, followed by fine grit for final polishing. Ensure to sand along with the wood grain and not across it. Once you’ve created an even surface sans blemishes, apply stain if desired, followed by several coats of polyurethane coating for protection.
This rigorous yet rewarding procedure will restore your floors back to their original glory.
Use Wood Filler For Wide Gouges
Selecting the right wood filler is crucial to effectively repair wide gouges. For good results, choose a filler that matches your floor color. Apply it into the gouge using a plastic putty knife, making sure you press firmly so it fills the void completely.
After application, let it dry according to the manufacturer’s specifications on the packaging. Once dried, sand down any excess using fine-grit sandpaper for a smooth and even finish.
Lastly, apply matching stain and sealant over the repaired area for a seamless appearance on your floor.
Patch Or Replace Badly Damaged Floorboards
To patch or replace badly damaged floorboards, pry up the distressed board using a putty knife. Make sure to remove any remaining nails in the space. If only certain sections of your hardwood flooring need attention, cut out those portions with care and prepare a fresh piece from an extra plank you might have.
Ensure that it fits snugly into the gap by sanding down any rough edges before inserting it into position and securing it with finish nails. Full replacement may be necessary for extensively damaged or deep scratches radiating across multiple boards on your hardwood floor, but always consult a professional if you’re uncertain about undertaking this task yourself.
How To Fix Hardwood Floor Scratches FAQs
The good news is that there are several ways to fix scratches without going through the entire process of refinishing. For light scratches, using a finish restorer can be effective.
This product fills in the scratches and restores the shine of your hardwood floor. If the scratches are medium in size, applying a new coat of finish can work wonders. For deeper scratches or wide gouges, the use of a blending pencil or wood filler can help to conceal these imperfections.
Meanwhile, if an area is too badly damaged, patching or replacing the specific floorboards will do the trick. Remember, it’s always best to consult a professional if unsure, but these methods can help maintain the beauty of your hardwood floors with minimal disruption and cost.
Yes, you can get deep scratches out of hardwood floors. Deep scratches that penetrate through the finish into the wood can be a tough challenge to address.
However, they can still be repaired to a certain extent.
For minor scratches, using a finish restorer or a blending pencil can be effective. Meanwhile, for deep scratches, using wood filler might be the best solution. Once the filler has dried, the area can be sanded down for a smooth finish.
Remember to apply a matching stain and sealant over the repaired area to ensure a seamless appearance. If the scratch is very deep and runs across multiple boards, patching or replacing the specific floorboards might be the only option. As always, if you’re unsure, consult a professional to ensure the best care for your hardwood floors.
A variety of solutions can help with scratches on hardwood floors, depending on the severity of the damage. For light scratches, a finish restorer is recommended. This product can fill the scratches and restore the shine of your hardwood floor. If the scratches are medium in depth, you may need to apply a new coat of finish.
Alternatively, deep scratches or wide gouges can be tackled with the use of a wood filler or a blending pencil. Once the filler has dried, the area can be sanded down to achieve a smooth finish.
Remember to follow up with a matching stain and sealant over the repaired area for a seamless look. If you have severe damage across multiple boards, consider patching or replacing the specific floorboards. Always consult a professional if you are unsure about the best approach for your hardwood floors.
Fixing small gouges in hardwood floors requires a careful and methodical approach to ensure the best results. First, clean the gouged area thoroughly to remove any dust or debris.
Then, take a wood filler that matches your wood flooring and apply it to the gouge using a plastic putty knife. Press it firmly to ensure the filler fills the gouge completely.
Allow the filler to dry as per the manufacturer’s instructions before moving to the next step. Once dried, use fine-grit sandpaper to sand down the filled area for a smooth finish. Remember, the goal here is to blend the repaired area with the rest of the flooring, making the gouge virtually invisible.
Finally, apply a matching stain and sealant over the repaired area to restore the finish and color of the hardwood floor. This process of fixing wood floors can make small gouges disappear and restore the seamless beauty of your hardwood flooring. Always remember to follow each step with care and precision to achieve the best results.

Talk To Cali's Flooring Pros
If you have further questions on how to manage scratches or gouges on your hardwood floors, or if you require professional help with hardwood floor refinishing, do not hesitate to reach out to us.
At KHB Flooring, we offer our services in Modesto, Turlock, Tracy, and throughout Central-Valley & Tri-Valley, California.
Our team of experienced professionals is always ready to restore the charm of your hardwood floors. Give us a call at (209) 487-9663. We’re here to help you maintain the timeless appeal of your hardwood flooring.
